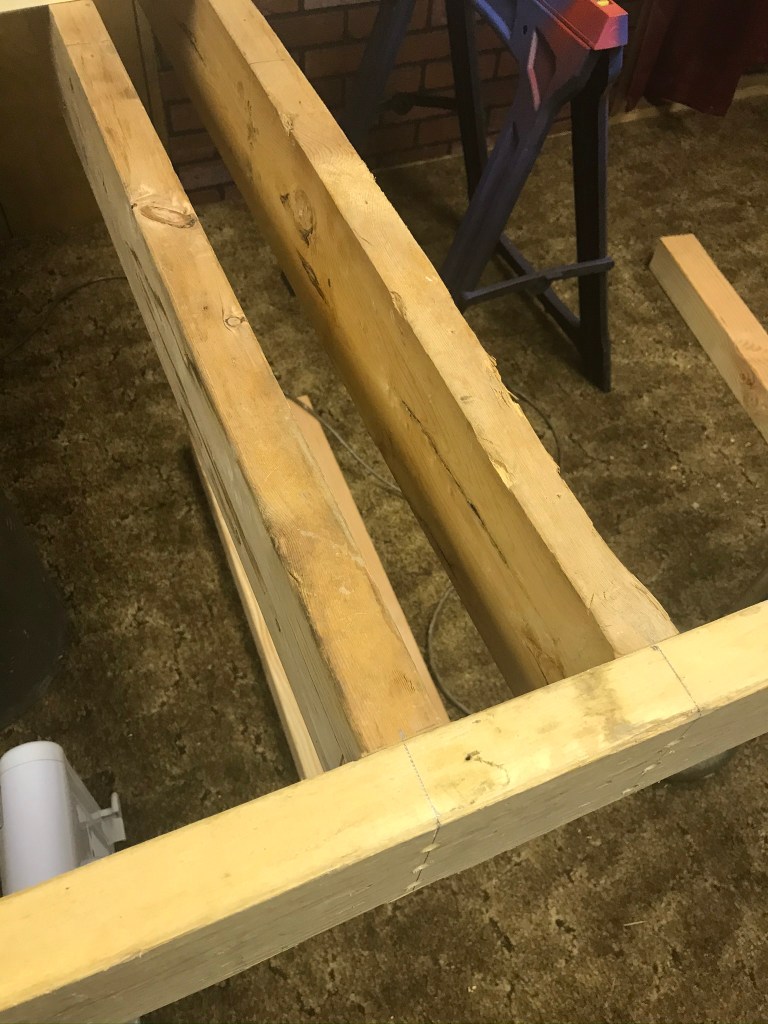
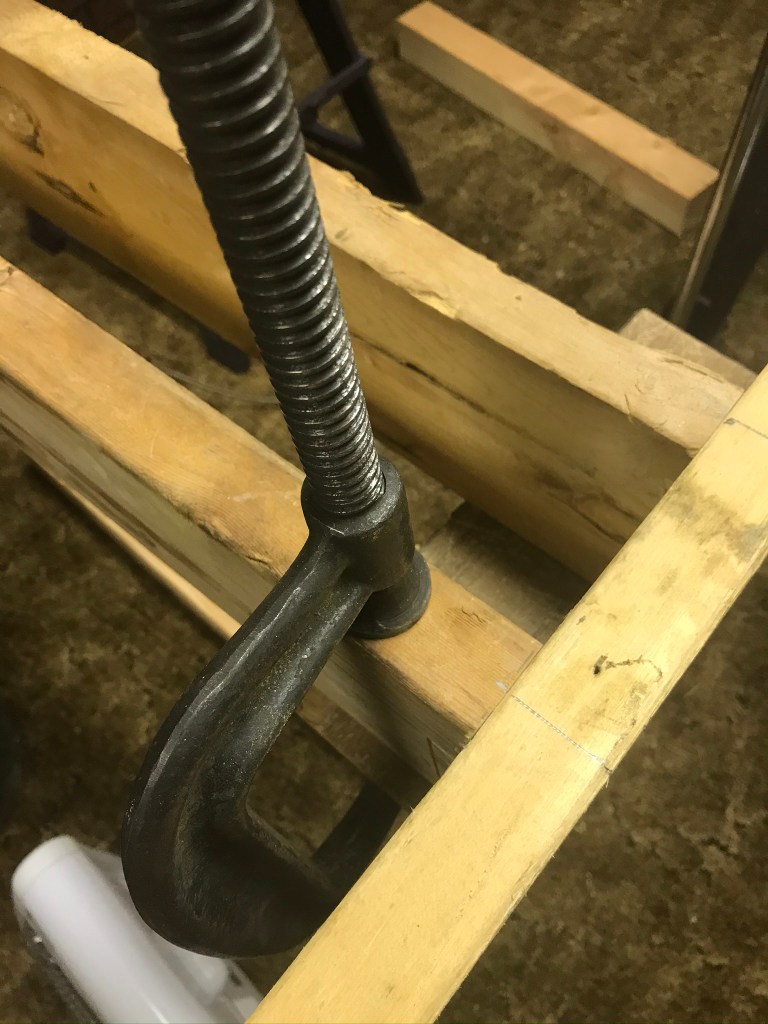
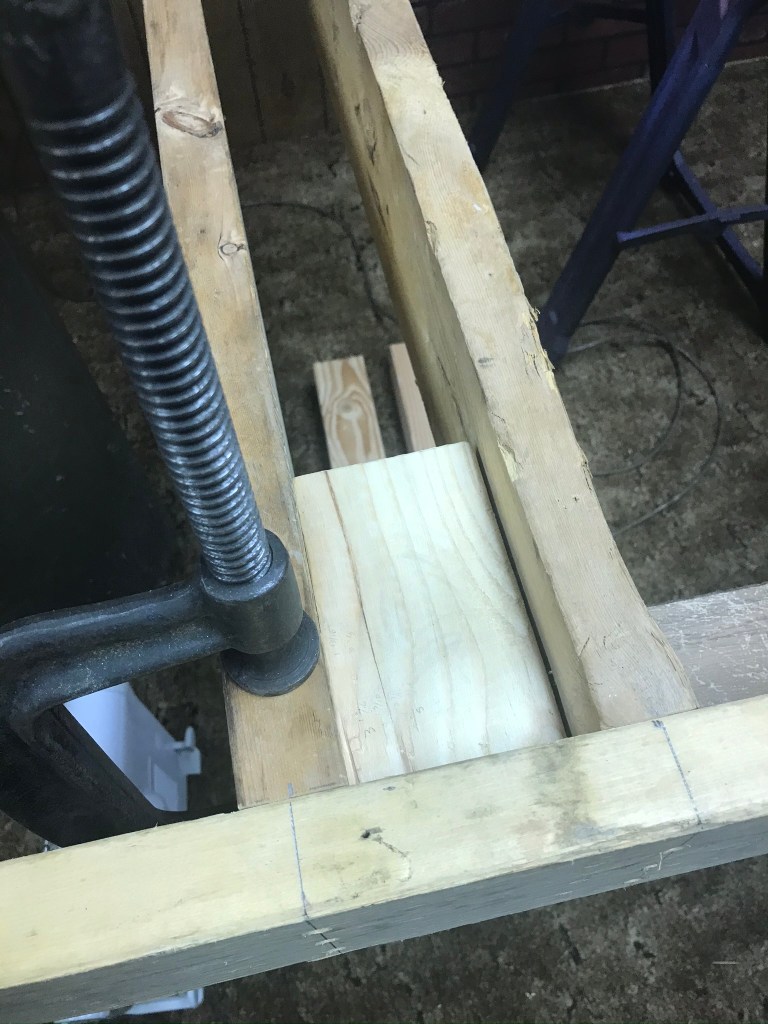
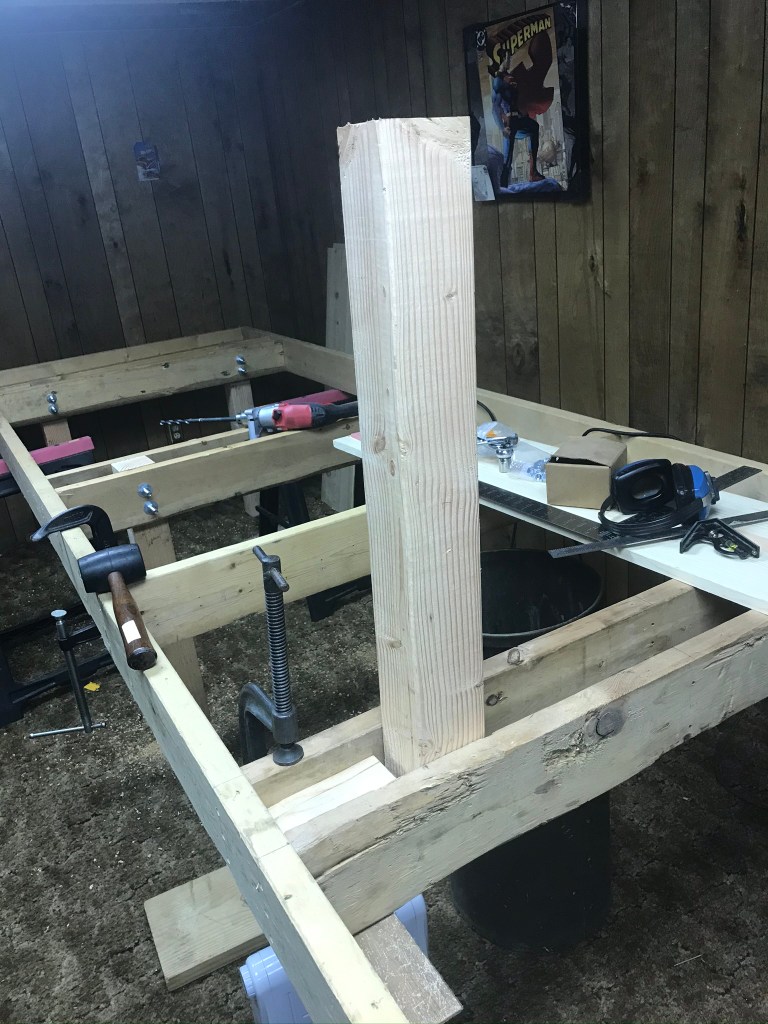
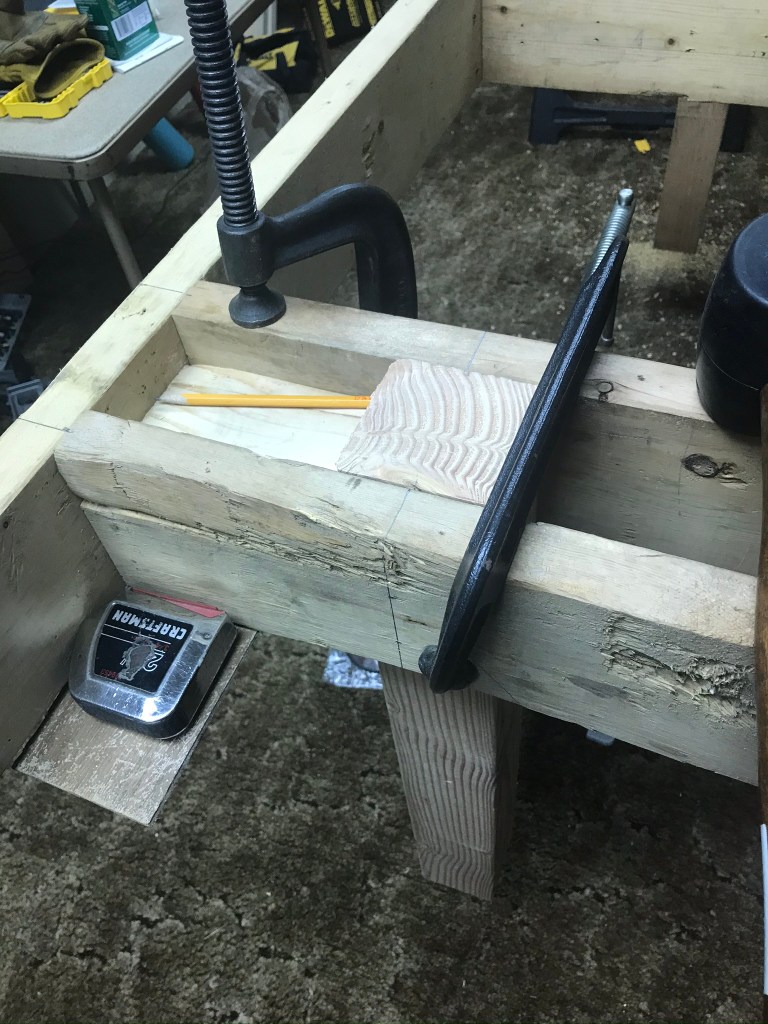
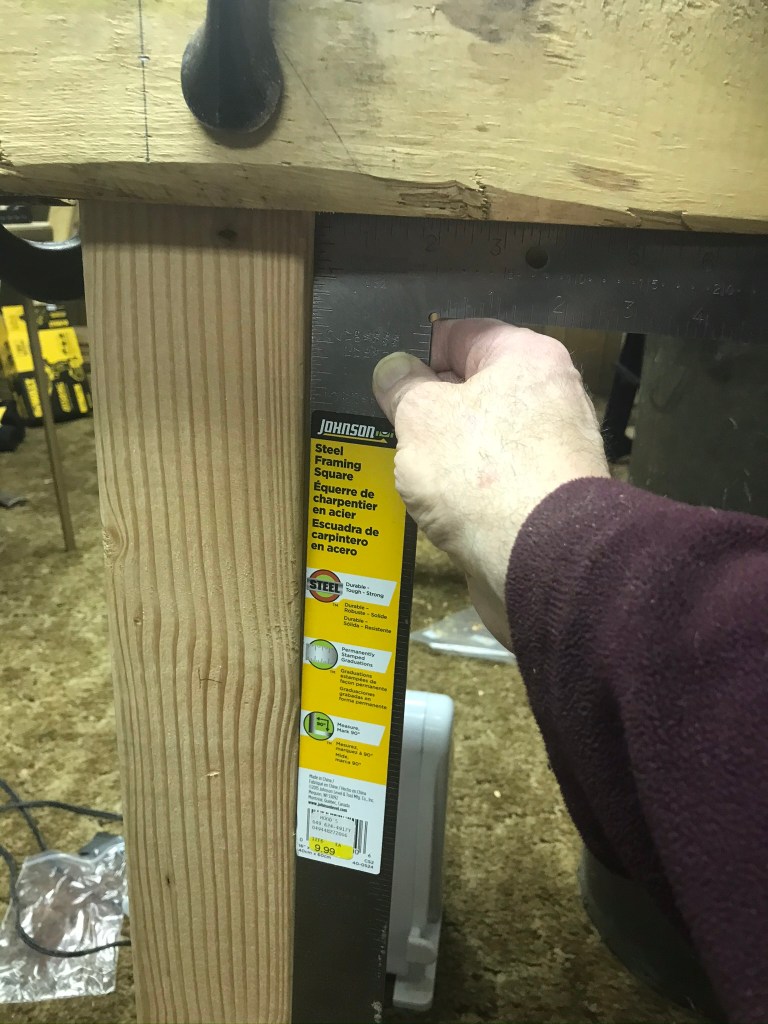
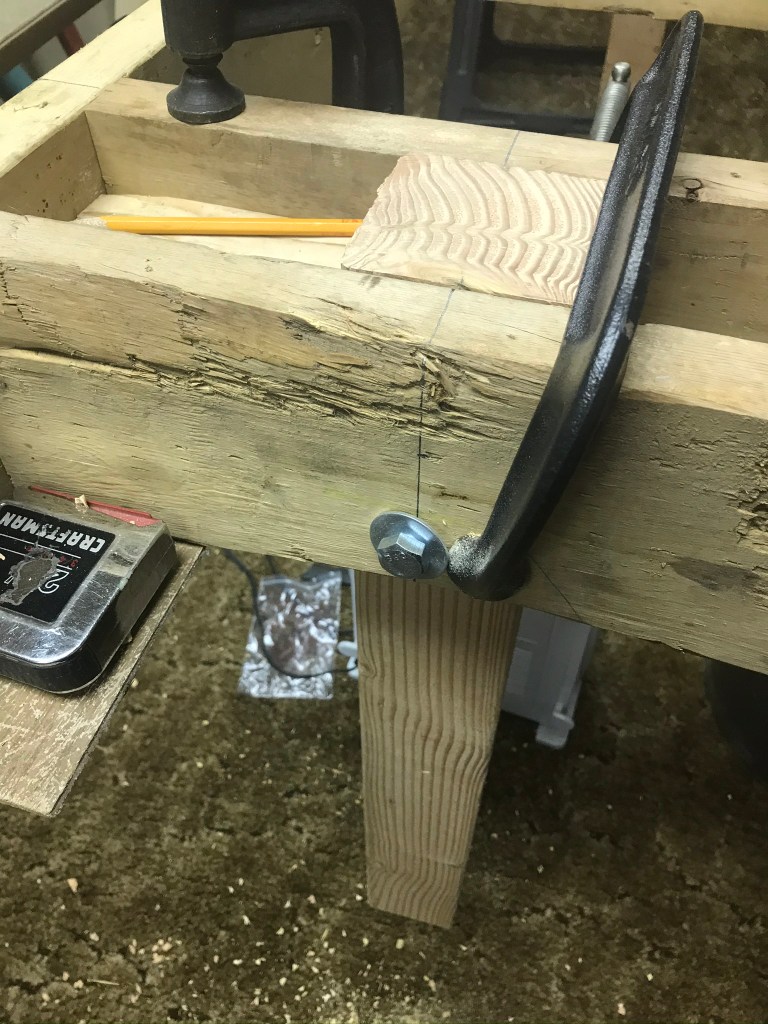
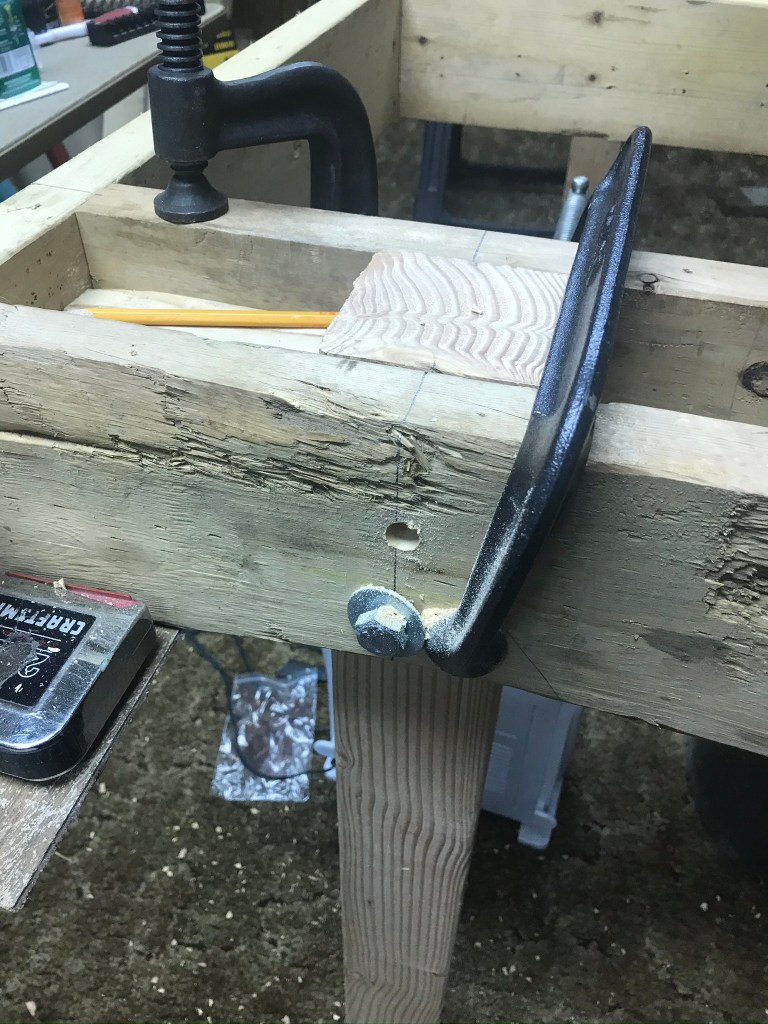
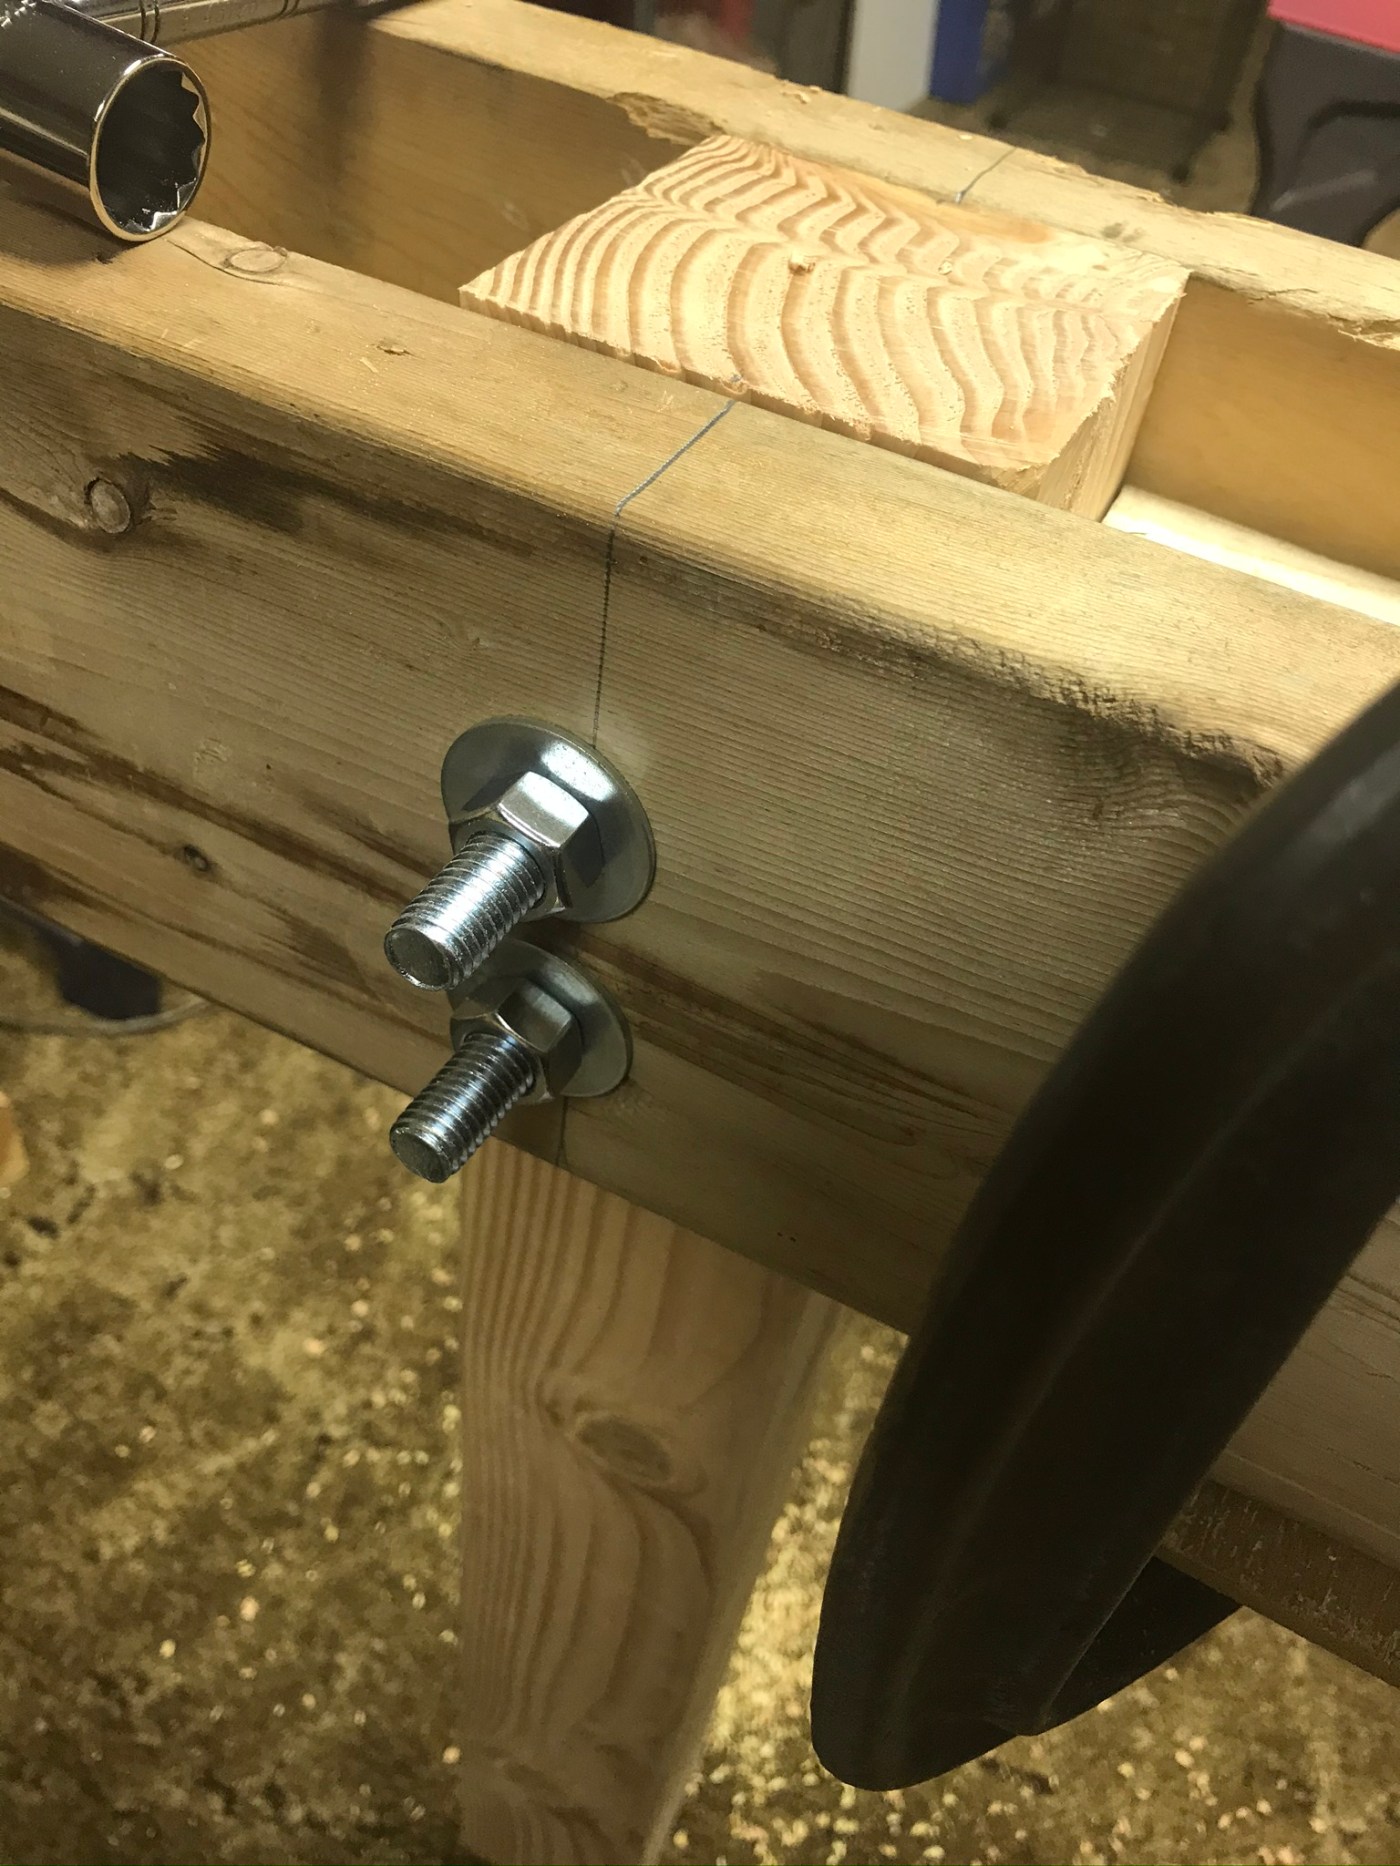
This is kind of a tutorial in pictures of how I attached a leg. I tried to use a cookie cutter approach so I wouldn’t have to rethink it each time. Remember, I’m normally not a do-it-yourself guy. This is the best way that worked for me. This is simply a closeup of the pair of braces where I would install the first leg (or at least the leg for this tutorial 😜)See that block at the top of the picture? It’s kind of setting on the edge of the table in the background. The length of that block is the exact distance from the inside of the table frame to where I want the edge of the table leg to be. What I’m doing here is clamping a makeshift platform for the block to set on. You’ll get a better view of it in the next picture. You’ll see what I do with the block in not the next picture but the one after it.Same as the previous picture only from the other side.The block I was telling you about earlier is simply leftover scrap from cutting the 4X4’s to the proper length for the table legs. Now the block will just lay there until I get ready to slip the leg in for installation.This is the leg that I will tamp down with the rubber mallet until it’s in the correct position.Once the leg is in place I clamp the braces around the leg tight to keep it from moving.I could only check it for square in this direction. The other direction was at the mercy of the angle of the braces. All I could do was hope that I screwed the braces in more or less straight up and down.After drawing the center line to drill on I had another block some place where it had the distances for the bolt holes marked off. A third down from the top and a third up from the bottom. Here I was getting ready to drill the lower hole, using my best guess for keeping it level and parallel to the sides of the leg.Here is the first hole complete. I probably should have used my digital camera with a normal lens on it. The wide angle lenses on these cell phones distort the image a little.The first bolt is in place. It’s not tightened down yet but just in place to keep the holes lined up while I drill the other hole.The final hole has been drilled. Not being a veteran of that kind of work, sometimes it was hard to keep the drill exactly on point as it got started. As you can see, the hole is a little off. It wasn’t too bad though.The second bolt is in place. I can release the clamp now if I want.Here is the final look of the tightened bolts from the other side. Greg Braun did call for anything quite this hefty, but that’s the way I do things sometimes. This table’s not going anywhere. 😊
Here I’m simply removing the original spacer block with the rubber mallet (the best I could while holding the phone. 😛)


Great tutorial!
LikeLiked by 1 person
That leg certainly isn’t going anywhere.
LikeLiked by 1 person